There are many styles and forms of Laughter Therapy, and Laughing Meditation is just one. What they all offer is an opportunity to explore our relationship to laughter and receive the many healing benefits that laughter can bring. Laughing is innately a part of our human experience, and there is a good reason it has been called “the best medicine.” Studies have shown that extended laughter can ease mild depression as it produces endorphins, helps to regulate blood sugar levels, and aids in relieving stress and high blood pressure. It can stimulate the immune system and even bring about weight loss! We all can laugh. Sometimes we can’t help responding to something before us without laughing. As children we laugh close to 600 times a day, and often very spontaneously and for no reason at all, but as we age we laugh less and less as life’s challenges take their toll.
Laughing Meditation is a tool to remedy that loss of spontaneous joy and bring healing to the body and being. As you explore laughter as a group, you may find at first it is challenging to laugh for no good reason. You may have to fake it until you make it, and fake laughter has been shown to have the same benefits as real laughter. You can also make the sounds HA HA HA, HO HO HO, HEE HEE HEE, and that can help, too. Here are some general suggestions you can follow, but feel free to get creative and do what feels right for you or the group.
These are but suggestions, so improvise as needed and take a light-hearted approach to whatever happens. It is about laughter after all!
1. Set up. Begin in a circle and use yoga mats or any props such as blankets or towels to be more comfortable. Explain the benefits of laughter and the general format of the class. Make sure everyone knows not to talk or invade someone’s space once the laughing begins, and to not make fun of anyone else’s laughter.
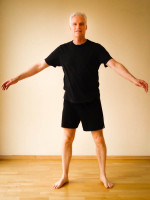
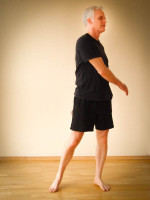
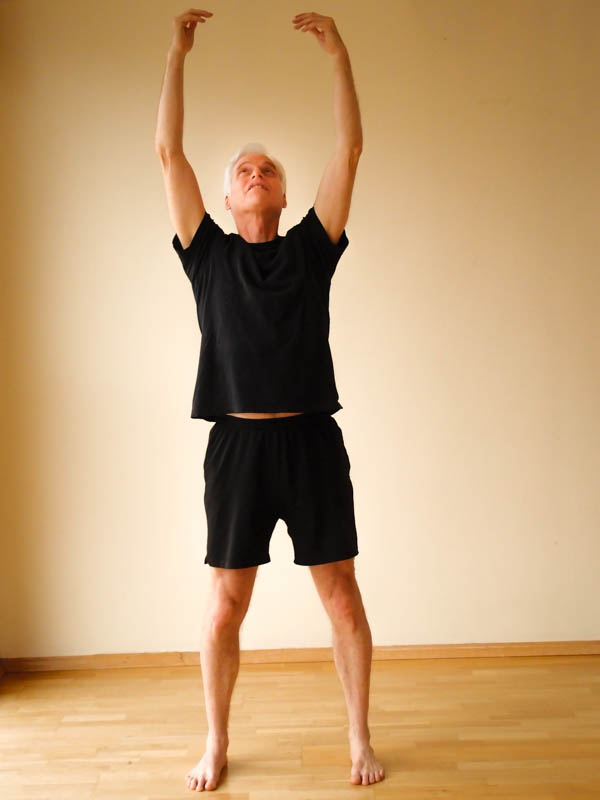
2. Warm up. Standing, loosen up the body by swinging your arms side to side gently twisting the spine, and then up and down opening the shoulders.
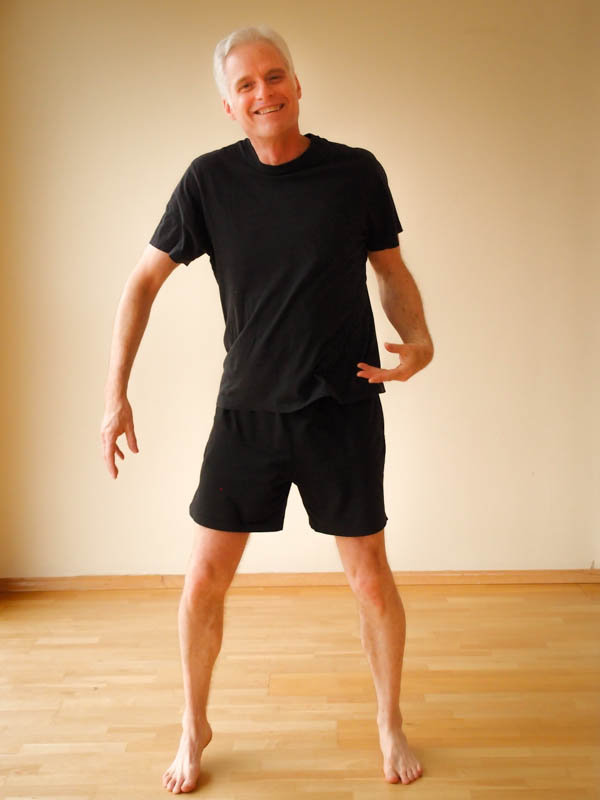

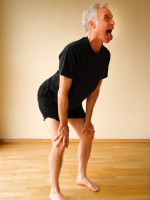
Shake a bit and make sounds. Stick your tongue out as far as you can and roar like a lion. Make it silly to get people in the mood to laugh. You can practice HA HA HA, HO HO HO, HEE HEE HEE, and fake laughter.
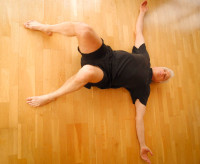
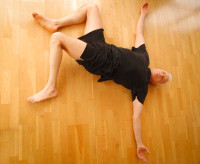
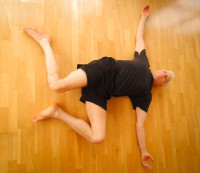
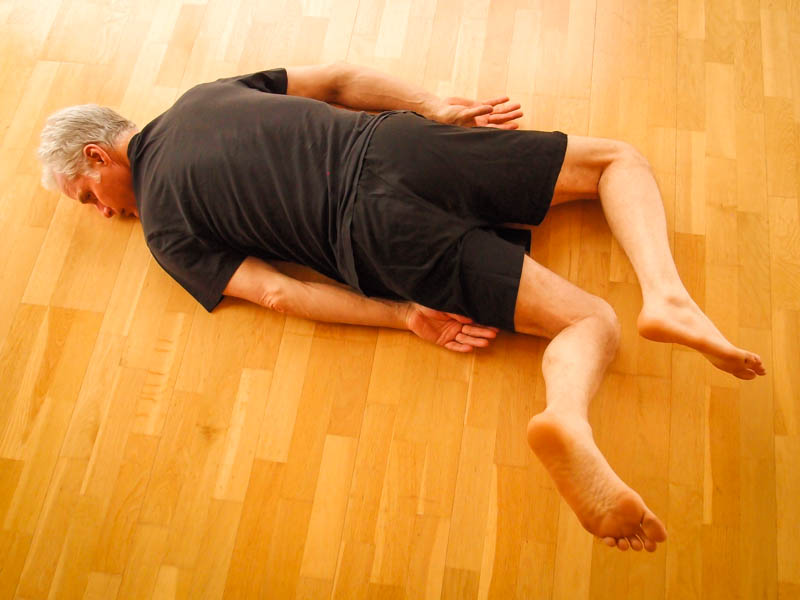
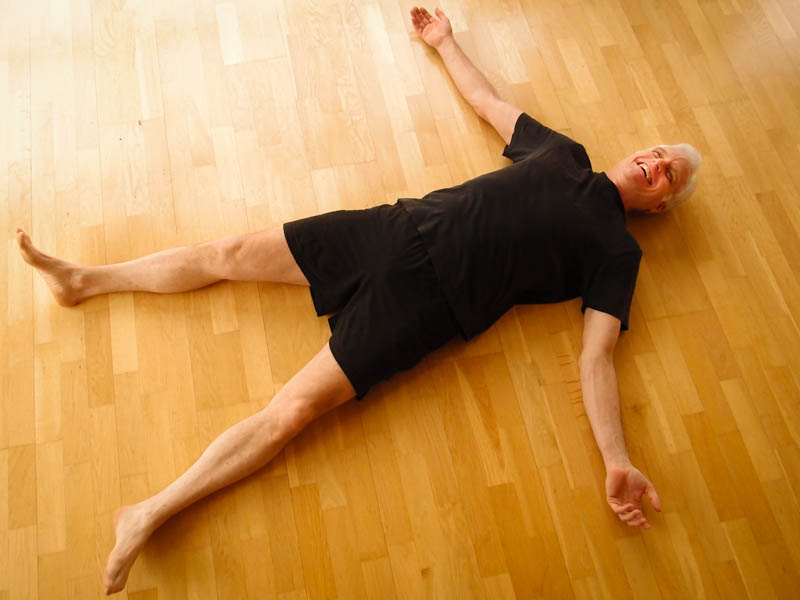 3. Laughing. Once you feel warmed up, then lie on your backs with heads facing the center of the circle. Breathe deeply together a few times. You can just begin to laugh, but it can also be helpful to do the sound “OM” if that is comfortable, or “AMEN” … then begin to laugh. It may take a while to build, and start with fake laughter if needed, but eventually the group will get going. Don’t try to force it; there may be periods of silence. If the group is having trouble getting going suggest they laugh like a particular animal, such as a monkey or a dog. Try timing this period of laughter to at least 10 minutes, but longer is good too. Going as long as 20 minutes is fine. When time is up you can signal with an “OM” or simply say “time’s up.” It may take a bit of time for people to stop laughing, especially in a larger group, and deep breathing can help. Also, tissues may be needed as the lymphatic system is stimulated, and may cause the sinuses to drain or be stopped up.
 4. Quiet time. The group now lies in stillness for ten minutes or more. This is a chance to notice thoughts, emotions, body sensation, and the overall effect of the laughter. Give that suggestion, and also suggest the eyes be closed for inward focus. It may be difficult for some to stop giggling, which is fine. If it extends too long, you might allow that person to step out of the room and return when settled.
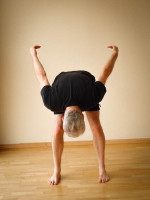
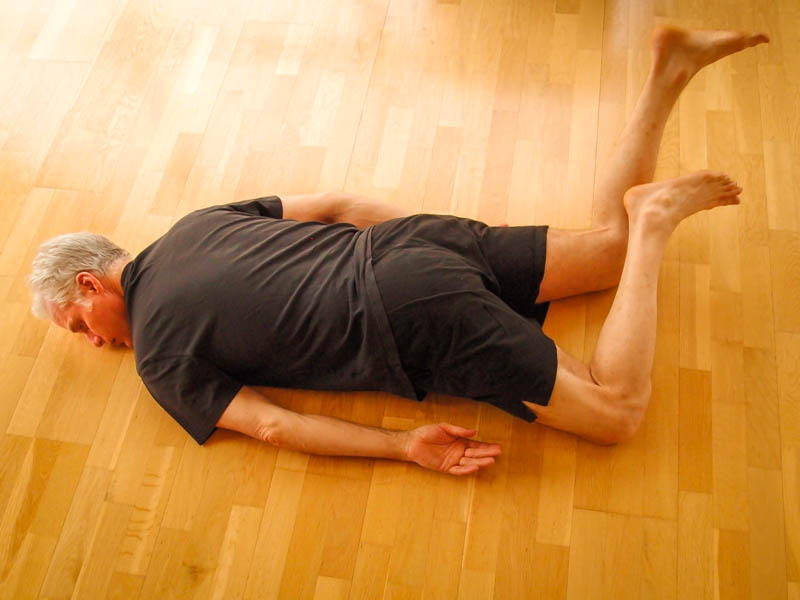
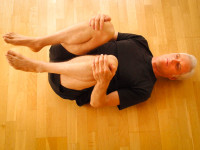 5. Gentle stretch. Because the laughter can be quite frenetic, grounding the experience with gentle yoga or stretching and a guided deep relaxation can be very useful to feel energized, but also balanced and relaxed. If you know yoga do some gentle poses on the back first and then the belly, and then return to the back for relaxation. Otherwise if you do not know yoga, you can simply rock the knees to the chest and/or circle them.
Then, with the knees bent and the feet on the floor let the knees fall in unison to one side and then the other in an easy twist.
Turn to lie on the belly and rock bent knees side to side.
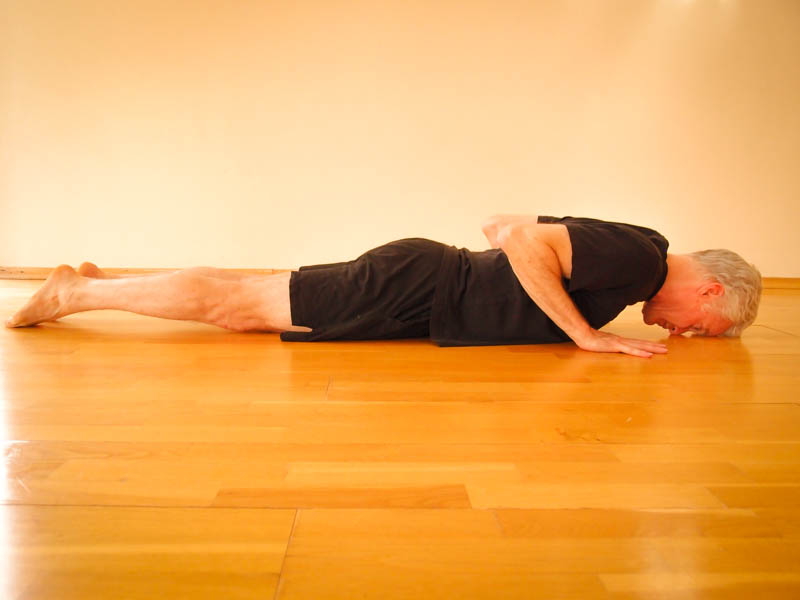
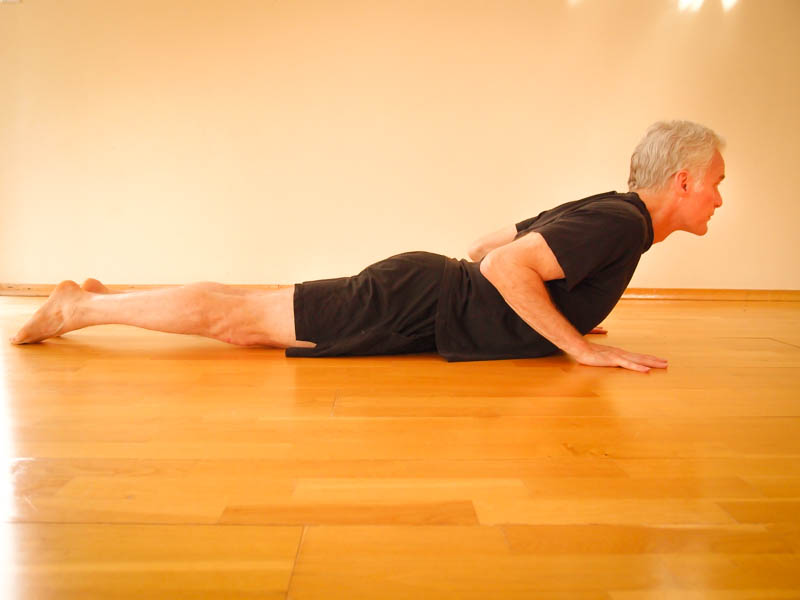
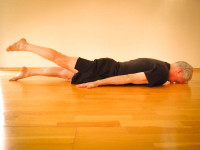
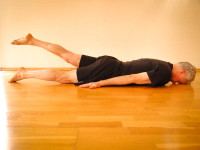
With the legs straight and hips grounded, and the hands under the shoulders like a push up position, lift the head and chest to an easy back bend.
Then with the head and chest back down and the arms straight alongside the body, lift one leg straight behind you, lower it, then repeat with the other.
Turn over on the back again and hug the knees to the chest, then lift the head bringing the forehead towards the knees. 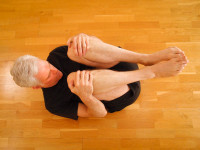
6. Guided relaxation. Lying on the back with the eyes closed, do one or both of these sequences, depending on time.
(a) Tensing and relaxing the muscles with the breath. Focus on the legs and the feet. Inhale, tighten the muscles in the legs and feet, exhale and relax. Now focus on the hands and arms. Inhale, tighten the muscles of the hands and arms, exhale and relax. Next bring awareness to the belly and chest. Inhale, filling up the belly and chest, then exhale and relax. Repeat, holding the breath for a bit longer, and then exhale completely and relax the belly and chest. Now shift to the muscles of the face. Squeeze all the muscles of the face towards the nose making a “prune face.” Tighten, and then relax. Stretch the face lifting the eyebrows, sticking out the tongue trying to touch the chin, then relax. Have them make any adjustments so they can be still if you are doing the next sequence; if not just let them be still in silence again for a while.
(b) Progressive relaxation. Begin with the toes and suggest they relax them. Follow this sequence slowly: Bottoms and tops of the feet relax. Ankles, shins, calves, and knees relax. Thighs, backs of the thighs, buttocks, hips and pelvis relax. Lower belly, lower back, mid back, mid belly, chest, and upper back relax. Upper arms, elbows, forearms, hands, and fingers relax. Neck and throat, jaw, tongue, cheek bones relax. Eyes and eye muscles relax. Eyebrows and the space between them relax. Forehead, sides of the head, back of the head, and top of the head relax. Silence.
7. Ending. To come out, have participants notice the breath. Then breathe a bit deeper and wiggle the fingers and toes. Bend the knees and roll to one side and press up to a seated position facing the center of the circle. Hands may be moved to prayer position at the heart, followed by a shared “Namaste.”